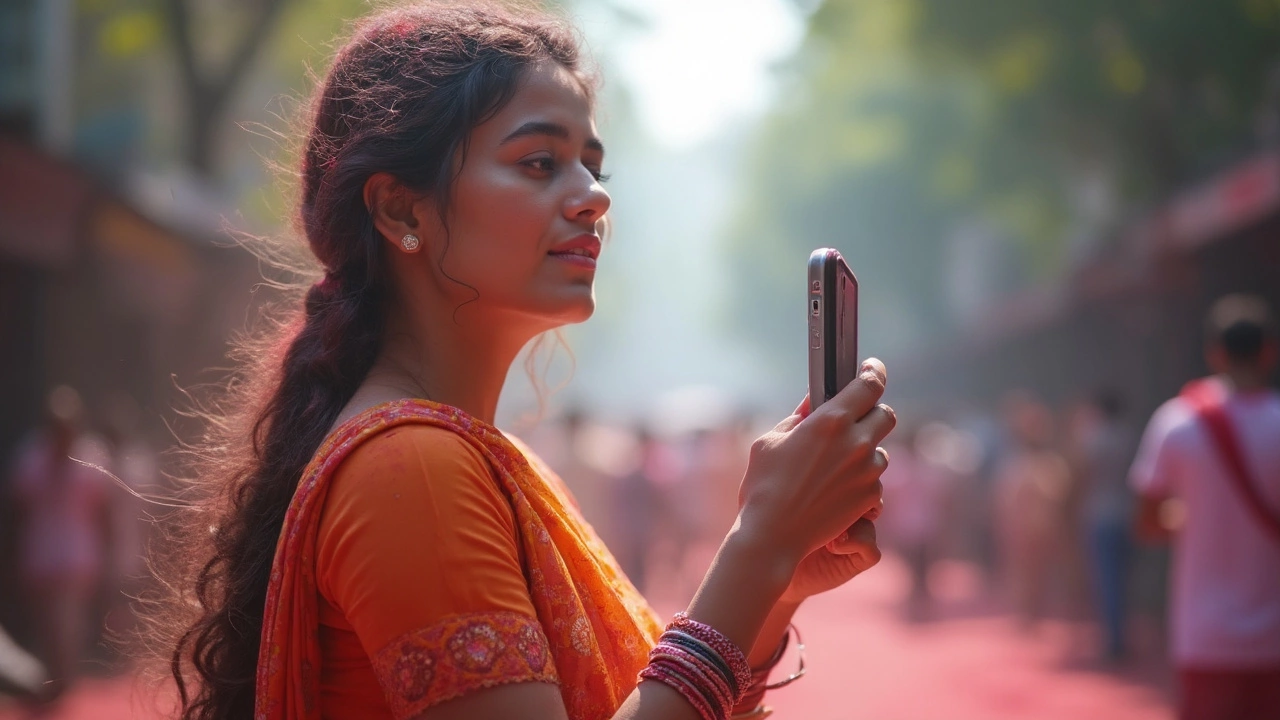
Unlock the potential of your smartphone by learning ten smart tips for capturing stunning photos that rival professional images. This article provides a step-by-step guide with practical advice and solutions to common photography challenges, making it easy to improve your skills. Whether you're a beginner or looking to enhance your techniques, explore accessible strategies to elevate your mobile photography.
Photo Tricks You Can Use Right Now on Your Phone
Ever snapped a great moment only to find the picture looks dull or, worse, disappears? You’re not alone. Below are practical tricks that let you rescue lost photos, squeeze more detail out of every shot, and use hidden phone features that most people miss.
Recover Deleted Photos in Three Simple Ways
Accidentally deleting a photo feels like losing a memory. First, check the built‑in "Recently Deleted" folder – most Android and iOS devices keep removed images for 30 days. Open the gallery, tap the trash icon, select the pictures you want, and restore them.
If the folder is empty, try a third‑party recovery app. Apps like DiskDigger (Android) or Dr.Fone (iOS) scan the storage for remnants of deleted files. Install the app, grant storage permission, and let it search. When it lists your missing photos, pick the ones you need and save them to a safe folder.
For a deeper rescue, connect your phone to a computer and use desktop recovery software. Programs such as Recuva (Windows) or PhotoRec (Mac/Linux) can pull data directly from the device’s memory. This method works best when you act quickly – the longer you wait, the more likely new data will overwrite the old files.
Hidden Camera Settings That Instantly Upgrade Your Shots
Most phones hide powerful settings behind menus you rarely open. On Android, launch the camera, go to Settings, then look for "Pro Mode" or "Manual". Here you can adjust ISO, shutter speed, and white balance. Lower the ISO in bright light to reduce grain, and raise it in low‑light scenes to capture more detail.
On iPhone, swipe up in the camera app to reveal QuickTake and other controls. Turn on "Grid" to apply the rule of thirds – it helps you place the subject off‑center for a more dynamic picture. Also, enable "Smart HDR" for balanced exposure across bright and dark areas.
Don’t forget the hidden volume‑button shortcut: press the volume‑up button while the camera is open to capture a photo without touching the screen. This steadies the phone and reduces blur, especially useful for group shots.
Quick Editing Tricks Without Third‑Party Apps
After you’ve taken the picture, you can polish it using the phone’s built‑in editor. On Android, tap the edit icon, then use the "Auto‑enhance" button – it automatically adjusts contrast, saturation, and sharpness. If you need more control, slide the individual sliders for brightness, contrast, and warmth.
iPhone users get a similar experience in the Photos app. Swipe left on a photo to open editing, then tap the magic wand for a one‑tap improvement. Use the "Adjust" tool to fine‑tune exposure and shadows. For a creative touch, add a subtle vignette – it draws the eye to the center of the image.
Both platforms support cropping to a different aspect ratio. Switching from 4:3 to 16:9 gives a cinematic feel, while square crops work great for Instagram.
These photo tricks don’t require expensive gear or fancy software. By mastering recovery, hidden camera settings, and built‑in editing, you’ll keep your memories safe and make every picture look its best.
